A complete Guide to Check Valve
Are you learning the essentials of industrial check valves? Resources here cover everything from how check valves work to different materials, manufacturing processes, applications, production standards, etc.
Explore Industrial valves
Stay updated

What is a lift check valve and its applications?
A lift check valve is a non-return valve that prevents backflow in piping systems. Read on to learn more about its definition, applications, and benefits, as well as the leading manufacturer of industrial valves.
Frequently Asked Questions
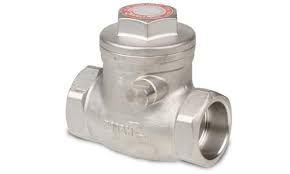
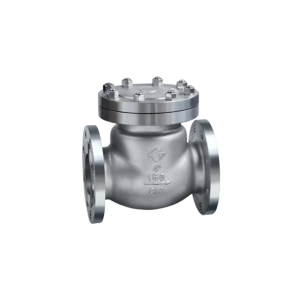
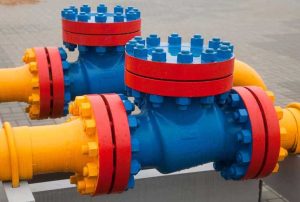
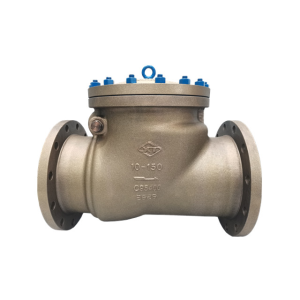
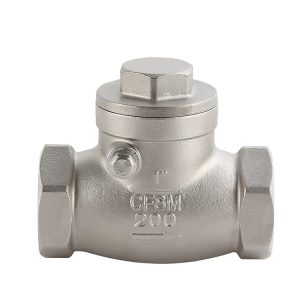
There are several different types of industrial check valves used in various applications. Swing check valves are commonly used to prevent backflow. They consist of a hinged disc that opens to allow flow in one direction. These valves are suitable for low-pressure drop and moderate flow rates.
- Piston Check Valve: Piston check valves use a piston or a disc to control the flow. The piston moves up and down to allow or block the flow. Swing check valves cannot handle high-pressure applications or high flow rates, making these valves a better option for those scenarios.
- Ball Check Valve: Ball check valves have a spherical ball inside the valve body. When the flow is in the forward direction, the ball is pushed away from the seat, allowing the fluid to pass through. When the flow reverses, the ball is forced against the seat, preventing backflow. Ball check valves are commonly used in high-flow rates and low-pressure drop applications.
- Tilting Disc Check Valve: Tilting disc check valves have a disc that tilts to allow flow in one direction and closes to prevent backflow.
- Wafer Check Valve: Wafer check valves fit between flanges and are secured by fluid pressure.
- Stop Check Valve: Stop check valves combine the features of a lift check valve and a globe valve. They can be used as a regular check or shut-off valve when needed.
- Silent Check Valve: Silent check valves are designed to minimize noise and water hammer effects. They have a spring-loaded disc that allows flow in one direction and closes to prevent backflow.
It’s important to note that different manufacturers may have variations of these check valves, and the specific design and features can vary. It’s recommended to consult the manufacturer’s specifications and guidelines for the particular application requirements.
Industrial check valves can be made from different materials based on specific application requirements. Some of the common materials used to make industrial check valves are:
- Stainless Steel: Check valves of 316 stainless steel are famous for their corrosion resistance. It remains rust-free in applications like water, moist air, and steam. Additionally, it is relatively low-cost.
- Carbon Steel: Carbon steel is frequently employed in industrial settings where high strength and toughness are necessary due to its durability and ability to withstand high-pressure conditions.
- Alloy 20: Alloy 20 is a highly corrosion-resistant material commonly used in chemical processing applications. It resists sulfuric acid, phosphoric acid, and other corrosive chemicals.
- Thermoplastic: Thermoplastic materials such as PVC, CPVC, and polypropylene are commonly used in industrial check valves.
- Cast Iron: Cast iron is often utilized in industrial settings due to its resilience, exceptional strength, and toughness.
Installing an industrial check valve requires careful consideration and adherence to proper installation guidelines. Here are some general steps to follow when installing an industrial check valve:
Identify the flow direction: Before installing the check valve, it is essential to determine the direction of the fluid flow. This will ensure the valve is installed in the correct orientation to function effectively.
Cut the pipe: Once the flow direction is determined, cut the line where the check valve will be installed. This will serve as the inlet for the valve.
Positioning: Pay attention to the positioning of the check valve in the piping system. Not all check valves are suitable for vertical piping runs, so ensure the valve is installed conveniently.
Allow for straight pipe lengths: For proper flow and minimal turbulence, install the check valve with at least ten pipe diameters straight pipe downstream of tees, fittings, increasers, or pumps. Additionally, there should be a minimum of five pipe diameters downstream of elbows to ensure laminar flow and minimize premature wear.
Secure the valve: Install the check valve securely in the pipeline using appropriate fittings and connections. Follow the manufacturer’s instructions for proper installation techniques.
Test for leaks: After the check valve is installed, it is essential to test for any leaks. This can be done by pressurizing the system and checking for any signs of leakage around the valve and connections.
Key Terms
When it comes to check valves, there are several technical terms that are commonly used. Here are some of the key terms related to check valves:
A check valve is used in hydronic heating and cooling systems to prevent passive gravity flow. It is designed to have low flow resistance and self-clean the sealing surfaces.
The pressure differential during the valve’s closing process refers to the pressure at which the valve reseals to prevent flow in the opposite direction.
Another term used to describe a check valve, as it only allows fluid to flow in one direction.
